...to knit.
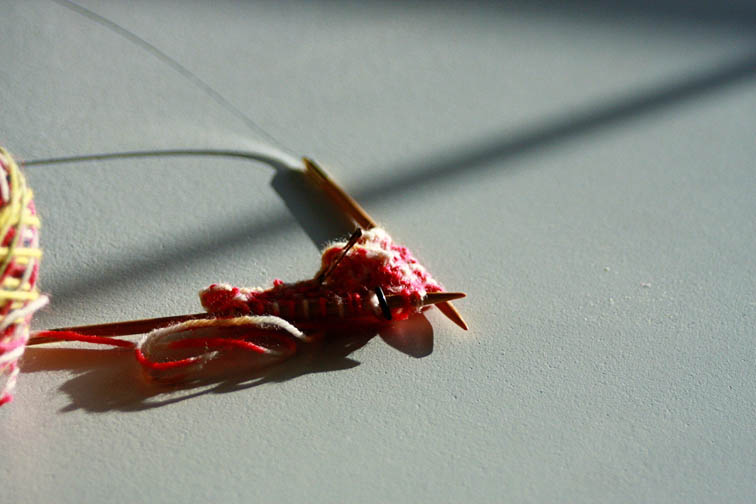
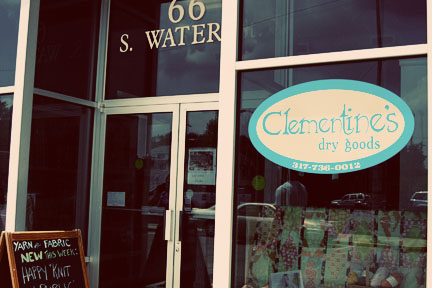
Last Saturday, I ventured over to Clementine's for a knitting lesson from the fabulous Cami. I'm learning to make this scarf. As you see it here, that's where it stands because...well...I messed up on it and don't know how to fix it and so I'm stuck.
I'm super enthusiastic about learning how to get this and being the determined person I am, it kills me that I have a ball of yarn and knitting needles just sitting in a tote waiting to be fixed. But alas, here I am. Stuck. I even have two fabulous knitting books, but since I'm so brand spanking new at this I don't really understand the terminology quite yet or even the illustrations.
What I really need is my Nanny (my Grandma) sitting beside me showing me how to do it. She is definitely the Knitting Queen and knows her stuff, but sadly she lives 700 miles away in Virginia, which is not exactly a hop, skip and a jump from Indiana.
But do not fear my dear friends, I will NOT give up. Oh no siree. This chick will learn to knit and she will get it. Before you know it, I'll be knitting scarves and hats. And who knows, I might even knit a sweater! That's right...I said it...a sweater!
Sunday, January 31, 2010
Saturday, January 30, 2010
Around the House Saturdays: Baking Edition
This edition of Around the House Saturdays is coming straight from the kitchen. I made these homemade chocolate chip cookies this afternoon. No special occasion really. Just the Hubby saying, "You haven't made any chocolate chip cookies in a while," and me saying, "Well, would you like me to make some?" And him replying with his little boy face, "...Kinda..."
Now I cannot claim any credit for this amazing recipe. I got it from my dear, dear friend Kate. You may remember her from here and here. I used to be a "buy-the-cookie-dough-straight-from-the-store" girl, but ever since my taste buds were introduced to these amazing cookies, I haven't even been to the cookie dough aisle in the grocery store. Now there is nothing wrong with the pre-made dough, but once you've had made-from-scratch cookies, you just can't go back.
Of course, I knew I couldn't just make your mouth water without sharing this fabulous recipe. So here you go. I must warn you though, these cookies should NOT be eaten WITHOUT a fresh glass of ice cold milk. You'd be doing an injustice to the world of cookies if you neglected this one important detail. AND I insist that you purchase the specific brands of the ingredients that are in in the recipe. According to Kate, these cookies just aren't the same without those specifics, and I would have to agree with her.
Kate's Famous Cookies
1 1/4 cup of brown sugar
1 1/4 cup of white cane sugar
2 eggs
1 Tbs. Vanilla
1 stick Imperial Margarine
1 full stick (1 cup) Butter-Flavored Crisco
2 tsp. baking soda
1 tsp. salt
4 cups flour (If you like slightly softer cookies, I suggest 3 1/4 to 3 1/2 cups - that's what I do)
3 or 4 cups of Nestle Tollhouse Semi-Sweet Chocolate Chips
Preheat oven to 350 degrees.
Cream sugars, eggs, vanilla & butters.
Add baking soda, salt, flour and chocolate chips.
Once the dough is well mixed, place spoon-fulls on the baking sheet.
Bake for 11-12 minutes.
Now enjoy!
Friday, January 29, 2010
Some Friday Fun
I love Polariod photos and I especially love iPhone Apps that create Polaroid photos. I've been so inspired by a few blogging friends and their fabulous Polaroid posts as of late that I thought it fitting to post some of my Polaroids. So to fill your Friday with excitement and a little bit of randomness, here are a few Polaroids I've taken over the past month.
This set was taken with the ShakeItPhoto App.
And this set was taken with the Polarize App.
Hope your Friday treats you well and your weekend is even better!
This set was taken with the ShakeItPhoto App.
And this set was taken with the Polarize App.
Hope your Friday treats you well and your weekend is even better!
Sunday, January 24, 2010
A Little Magic
So this is a completely random post, but I thought I'd just share a fun little sewing sidekick that I recently befriended. Blog world, meet Magic Sizing.
Now, I've never used starch in my life when ironing anything, but when I began piecing this quilt, Cami suggested that I use starch like nobody's business if I wanted to make life easier for my long-arm quilter. And so, the relationship began. I honestly can't imagine pressing a single seam anymore without this beautiful blue can by my side. It's so bad, my Hubby knows that when I put starch on the grocery list that it means I need at least two cans in order to maintain a sense of stability and harmony in my studio. It's not like I go through it that quickly, it's just that I get a bit panicky when the can feels any less than full. And at 98 cents a pop, why wouldn't I just stock up?
What are some of your favorite sewing/quilting must-haves?
Saturday, January 23, 2010
Around the House Saturdays: Home Studio Edition
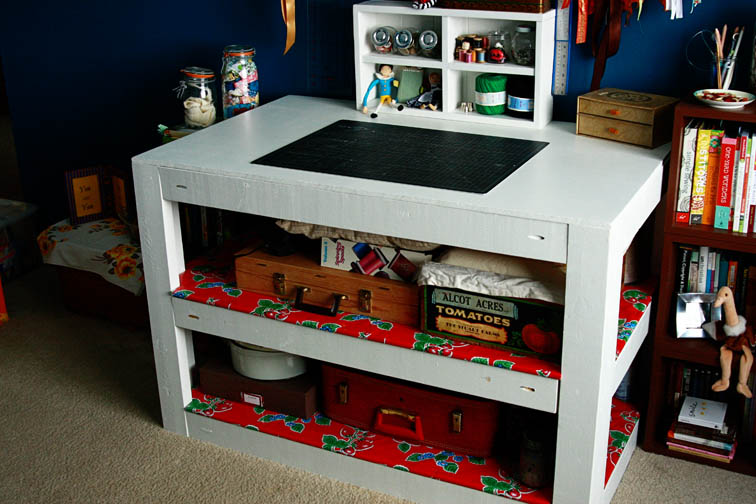
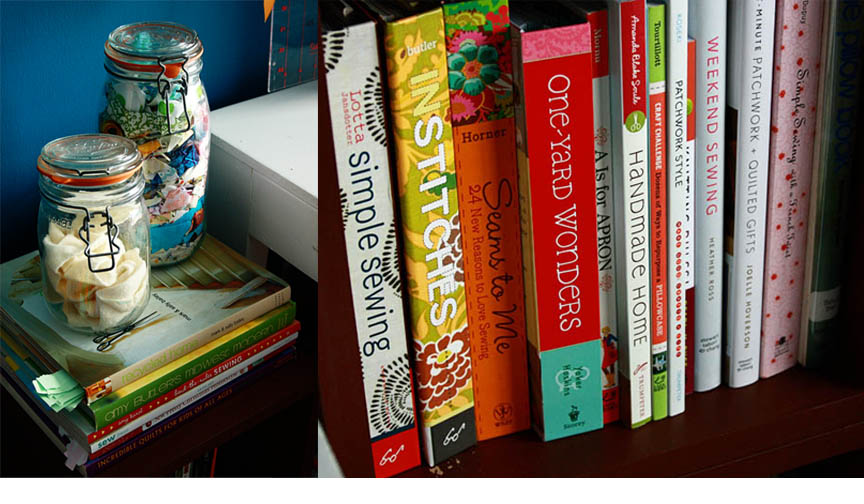
I'm so excited to share my new creative space with everyone. It's actually the same place, I've just given it a bit of a face-lift and added a great piece of furniture made my by Hubby. I've been wanting a work station with lots of work space and storage, and Dustin has definitely made my wishes come true.
Now I must share that finding the perfect spot for this beast of a table was not the easiest feat. Apparently planning the layout of a room in your head doesn't seem to work so well when the room in your head is larger than the actual room you have to work with. (I don't even know if that phrase made sense).
Anywho, after five different ideas and an almost melt down, the Hubby and I finally figured out how everything could work in harmony in my little space. It works perfectly under my uber-organizer.
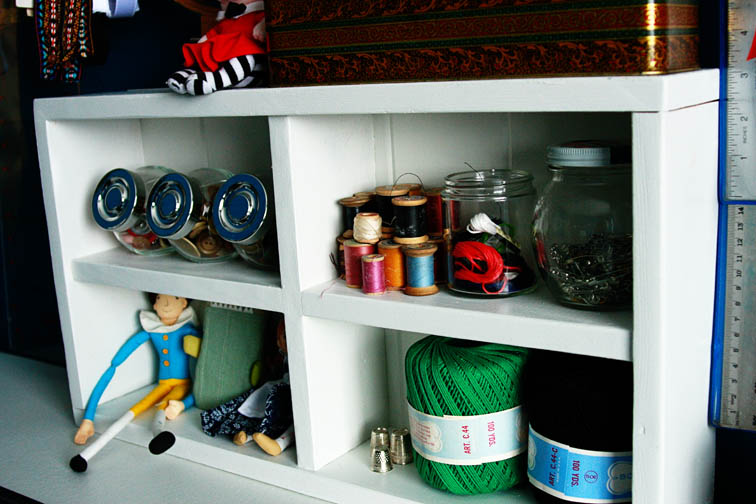
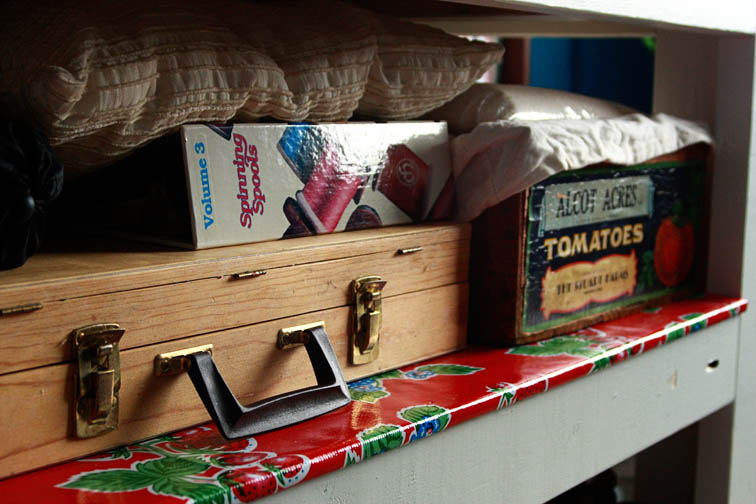
My Hubby also made this fantastic little shelf that sits wonderfully on top of the table. It was one of his "I-was-bored-and-wanted-to-play-in-my-shop" projects. It just so happened to be a perfect notion/accessory shelf for my studio. Funny how things work out that way.
Buttons anyone? No, you're eyes are not playing tricks on you. That is a one gallon jar of vintage buttons.
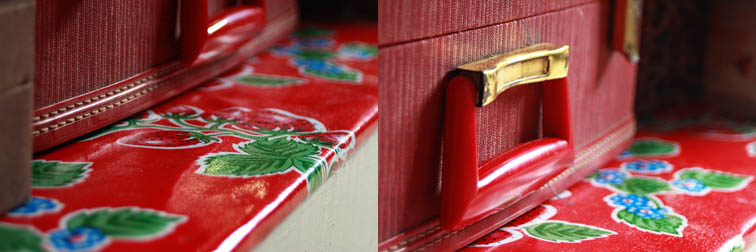
In order to make the shelves durable and of course cute for the station, I found this fabulous vintage-style strawberry printed oilcloth from this great oilcloth seller. I love the pop of color it adds to the bright white. I haven't covered the top yet, because I'm eventually going to cover the top with cutting mats.
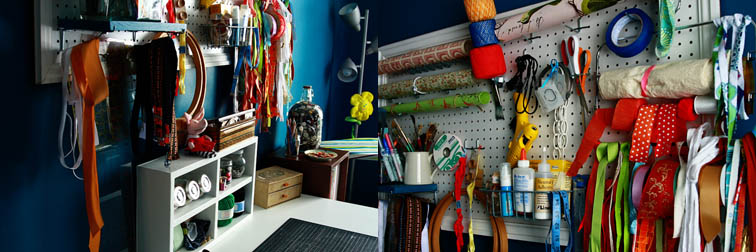
On to the rest of the studio...
Here's what I like to call "The Machines." Dun-dun-DUUUN. Ok, it's not that dramatic. It just so happened that my computer and sewing machine ended up in the same corner and they're both machines.
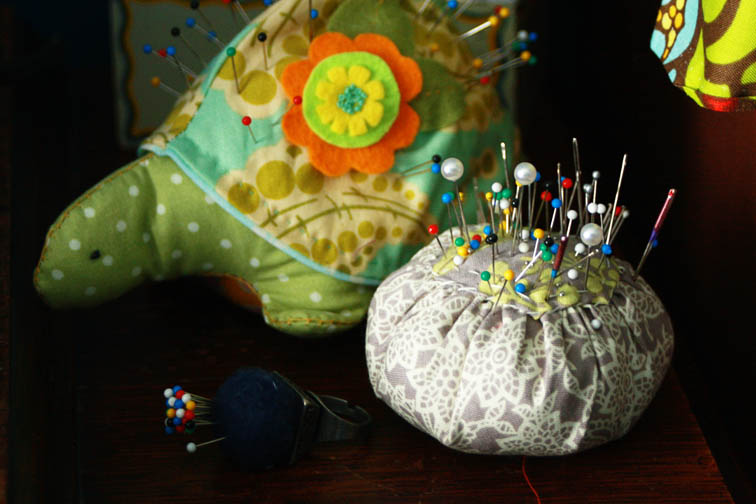
Every studio must have adorable pin cushions. My most fabulous Mom made both of them for me. You can find the turtle here.
My ever-growing stash of fabric-happiness.
So there ya have it folks. Hope you have a fun and creative weekend!
Sunday, January 17, 2010
Craft Hope for Haiti
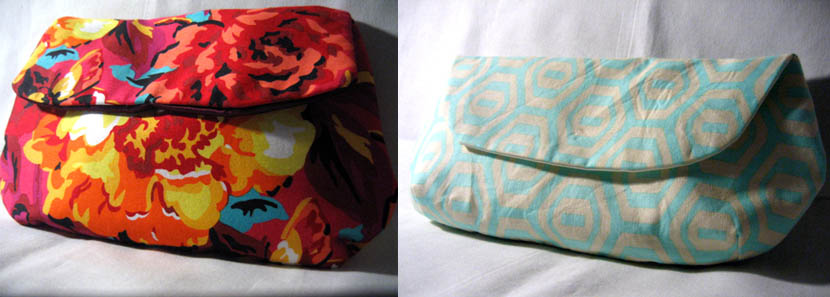
The amazing Craft Hope is at it again. And this time, they're calling lovers of all things handmade to join their cause. You can do this in two ways:
- Have something that you've handmade? Donate it to the Craft Hope Etsy Shop. When it's sold 100% of the proceeds will go to Doctors Without Borders.
- Love to buy things handmade? Visit the Craft Hope Etsy Shop and check out all of the beautiful items that are generously being donated. You'll be sure to find something you love.
**UPDATE**
These clutches have been sold, but be sure to continue checking out the Craft Hope Etsy Shop for other great items on sale.
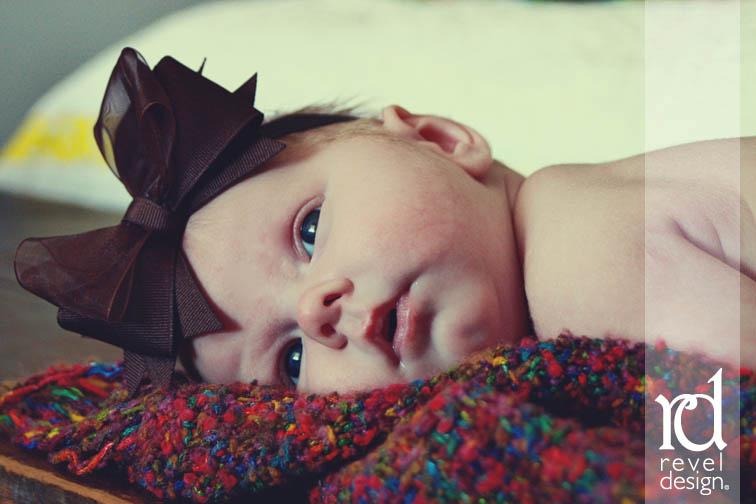
Baby Kaylee
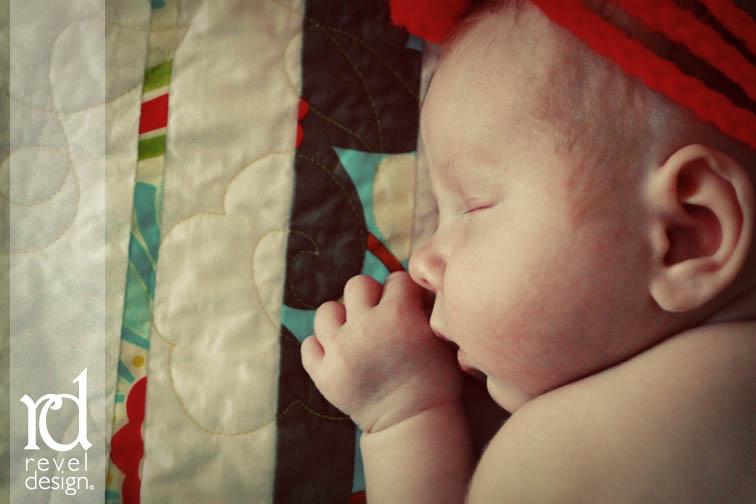
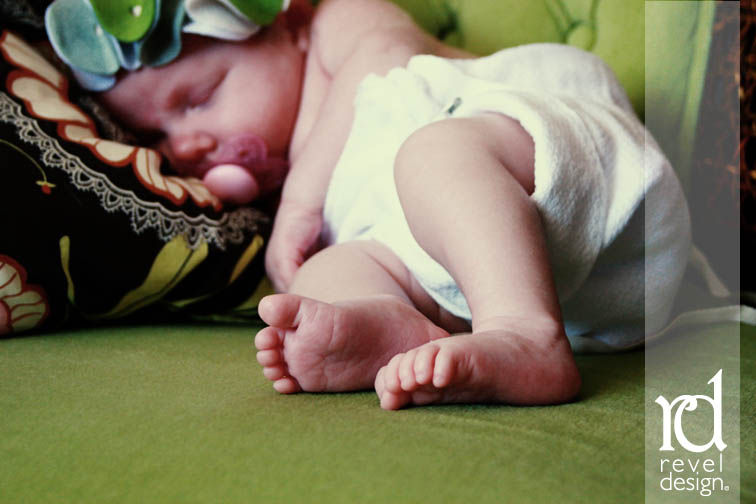
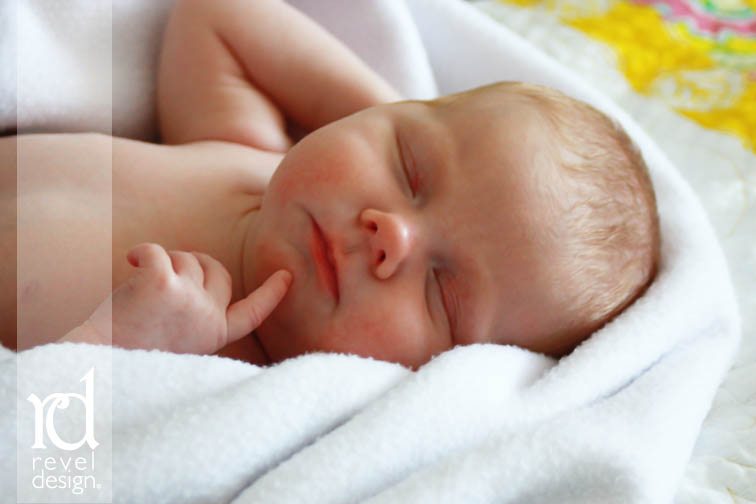
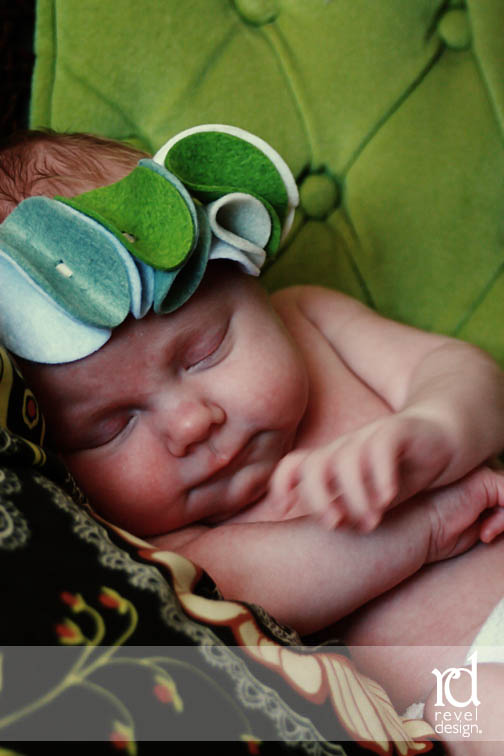
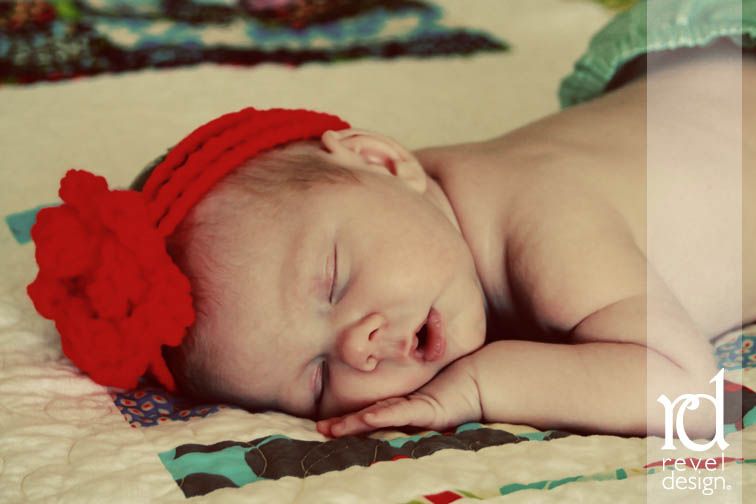
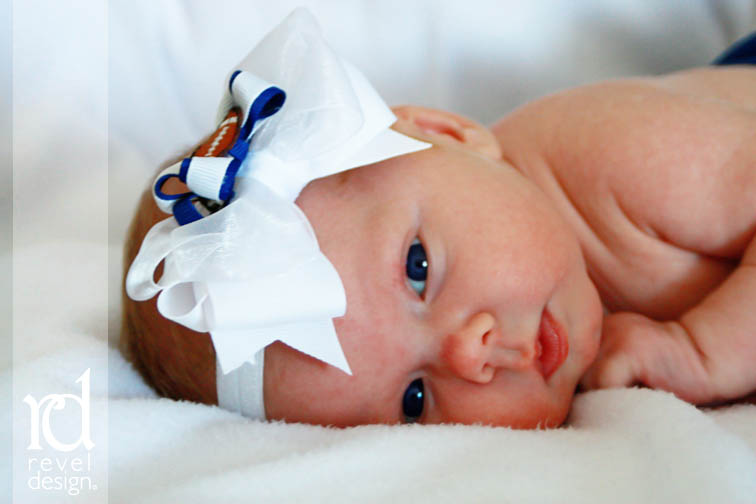
Last weekend I was able to do a photo shoot of the most beautiful little princess named Kaylee. Last March I was blessed to photograph her Mommy and Daddy's wedding. And again this past Fall I was able to photograph her beautiful family just before she entered the world. It's been so fun to be the "personal photographer" for the Edgar family and I can't wait to continue photographing their journey together as a family.
So without further ado, I present to you Kaylee at 1 month old. (Be prepared to say "aww" at every photo...yes, she's that adorable).
Tuesday, January 12, 2010
Completed
I made many a trip to the lovely Clementine's. Each visit included a purchase of several fat quarters. "You are the Fat Quarter Queen," I was called by the owner Cami. Oh but if she had only known what my lovely stash of fat quarters was contributing to...
Many months passed as I discovered and collected the beautiful fat quarters. Each one folded neatly on its shelf. Each time I walked by them, I could hear them whisper, "Make us into something...please!" But I resisted, knowing that once they were all put together, something even more beautiful would be created.
And so, March 2009 arrived. Each fat quarter was meticulously cut into various sizes for the lovely people who would be receiving them. Each one carefully placed in a padded (and weather-resistant) envelope and sealed with love. Off they went to their various lands...some to Virginia...a few to Utah...one lucky one even made it all the way to the Aloha State of Hawaii where it basked in the sun light and palm trees. Little did these bundles of fabric-goodness know that after their adventure they would return to me in a completely different fashion.
As each beautiful block arrived in the mail, my heart would skip a beat. The absolute beauty...the gorgeous craftsmanship...it was all so overwhelming. Once all 12 blocks were completed and returned, the intense task of designing the layout of the quilt began. Each piece was drawn to particular measurements and each piece cut accordingly. With each piece that was sewn together, I was able to get a glimpse of what the final masterpiece would look like.
At last, it was all pieced together. However, it's journey wasn't quite complete. It had to make one last voyage to North Carolina and back to Indiana to be quilted together by such special hands.
After months of patience and getting excited each time a package arrived to our home, the ultimate package arrived (and so close to Christmas, too). I quickly opened it, admired it, "Oooo" and "Aaaah" over it, then like a mad woman, began working on the binding to complete this treasure.
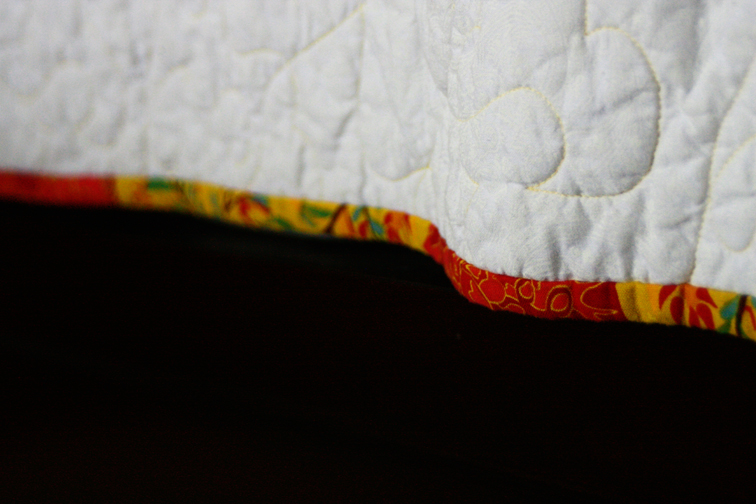
And so now dear friends, with much anticipation and excitement, I unveil an original "A Notion of Two Virtual Quilting Bee" Quilt.
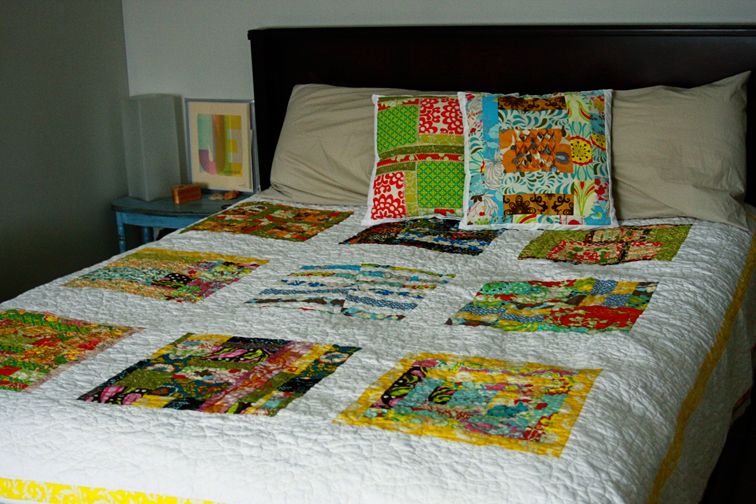
It sits so perfectly on our comfy bed where each night it keeps us warm and cozy. Each time I walk into the room, I can hear each block singing harmoniously together. And as you can see two lucky blocks were so magnificent and delicate that they were made into beautiful coordinating pillows.
Even the backing was designed so that each side of this quilt could be enjoyed and loved. No part will go unnoticed...not even the delicately binded corners (for which my thanks is due to the ever-encouraging and inspiring Dana, who taught me how to bind a quilt with such ease).
I must say thank you to everyone involved in this beautiful quilt. It will be treasured forever and loved by many. My first experience in a Quilting Bee was one that I will never forget and I'm so excited to continue with it into 2010.
Many months passed as I discovered and collected the beautiful fat quarters. Each one folded neatly on its shelf. Each time I walked by them, I could hear them whisper, "Make us into something...please!" But I resisted, knowing that once they were all put together, something even more beautiful would be created.
And so, March 2009 arrived. Each fat quarter was meticulously cut into various sizes for the lovely people who would be receiving them. Each one carefully placed in a padded (and weather-resistant) envelope and sealed with love. Off they went to their various lands...some to Virginia...a few to Utah...one lucky one even made it all the way to the Aloha State of Hawaii where it basked in the sun light and palm trees. Little did these bundles of fabric-goodness know that after their adventure they would return to me in a completely different fashion.
As each beautiful block arrived in the mail, my heart would skip a beat. The absolute beauty...the gorgeous craftsmanship...it was all so overwhelming. Once all 12 blocks were completed and returned, the intense task of designing the layout of the quilt began. Each piece was drawn to particular measurements and each piece cut accordingly. With each piece that was sewn together, I was able to get a glimpse of what the final masterpiece would look like.
At last, it was all pieced together. However, it's journey wasn't quite complete. It had to make one last voyage to North Carolina and back to Indiana to be quilted together by such special hands.
After months of patience and getting excited each time a package arrived to our home, the ultimate package arrived (and so close to Christmas, too). I quickly opened it, admired it, "Oooo" and "Aaaah" over it, then like a mad woman, began working on the binding to complete this treasure.
And so now dear friends, with much anticipation and excitement, I unveil an original "A Notion of Two Virtual Quilting Bee" Quilt.
It sits so perfectly on our comfy bed where each night it keeps us warm and cozy. Each time I walk into the room, I can hear each block singing harmoniously together. And as you can see two lucky blocks were so magnificent and delicate that they were made into beautiful coordinating pillows.
Even the backing was designed so that each side of this quilt could be enjoyed and loved. No part will go unnoticed...not even the delicately binded corners (for which my thanks is due to the ever-encouraging and inspiring Dana, who taught me how to bind a quilt with such ease).
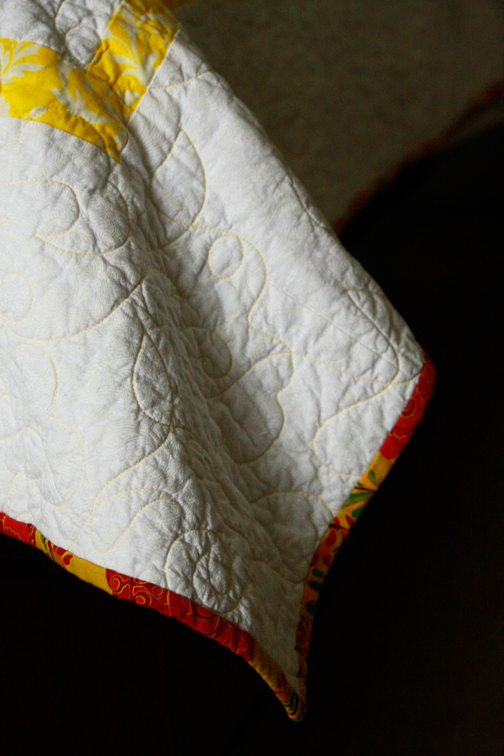
I must say thank you to everyone involved in this beautiful quilt. It will be treasured forever and loved by many. My first experience in a Quilting Bee was one that I will never forget and I'm so excited to continue with it into 2010.
Subscribe to:
Posts (Atom)